
Lazy Sourdough Croissant Loaf (With Shaved Frozen Butter)

Some of the links on this website are affiliate links, which means that if you make a purchase through these links, I may earn a small commission at no additional cost to you. As an Amazon Associate, I earn from qualifying purchases. I only recommend products I genuinely trust and believe will bring value to my readers. Also, some of the content was created with strategic use of AI tools. For more information, please visit the Privacy Policy page. Thank you for supporting my blog and helping me continue to provide valuable content.
If you’ve ever stood in front of a bakery window and wondered how on earth they make croissants so flaky and magical… but also knew you weren’t about to fold a butter block at 6 a.m. — this one’s for you.
I’ve been baking with sourdough for a long time now, and let me tell you, the real secret isn’t perfection — it’s patience, good butter, and knowing when to take shortcuts that still taste like the long road. This croissant-style sourdough loaf is one of those beautiful shortcuts. It’s soft, buttery, and layered just enough to feel special, but still practical enough for a real family kitchen.
Instead of fussing with a traditional butter block, we’re going to cheat just a little — shaving frozen butter and layering it in with love. The result? A gorgeous loaf that feels like a bakery treat but fits right into a regular ol’ weekend.
So grab your grater, dust off that rolling pin, and let’s make something that smells like heaven and tastes like you worked way harder than you did. 💛
Why You’ll Love It 💛
You get buttery croissant vibes and sourdough flavor… in loaf form… with almost zero effort. Yes, really. The grated frozen butter trick makes layering buttery flakes so much easier, and there’s no fancy pastry training required.
- 😎 No butter block to fold
- 🧊 Perfect for warm kitchens (no melting mess)
- 🍞 Loaf format = zero shaping stress
- 🧡 Great for toast, sandwiches, or snacking straight from the pan
🛒 Ingredients
| For the Dough | |
|---|---|
| 100g active sourdough starter (100% hydration) | fed and bubbly |
| 240g whole milk (warm-ish) | or any milk, plant-based is fine |
| 25g sugar | optional but gives better browning |
| 350g all-purpose flour | plus more for dusting |
| 7g salt |
| For the Butter | |
|---|---|
| 170g unsalted butter (frozen) | grate while frozen |
| 1 tbsp flour (optional) | for tossing butter shreds |
🧰 Tools You’ll Need
- Box grater or food processor with shred blade
- Rolling pin (or wine bottle 😉)
- Parchment paper
- Loaf pan
- Sharp knife or bench scraper
⏳ Timeline at a Glance
| Step | Time |
|---|---|
| Mix & bulk ferment | 4–6 hrs (or overnight in fridge) |
| Laminate with grated butter | 1–2 hrs total (chill between folds) |
| Shape loaf | 5 min |
| Proof | 4–6 hrs (or overnight in fridge) |
| Bake | 35–40 min |
👩🍳 Step-by-Step Instructions
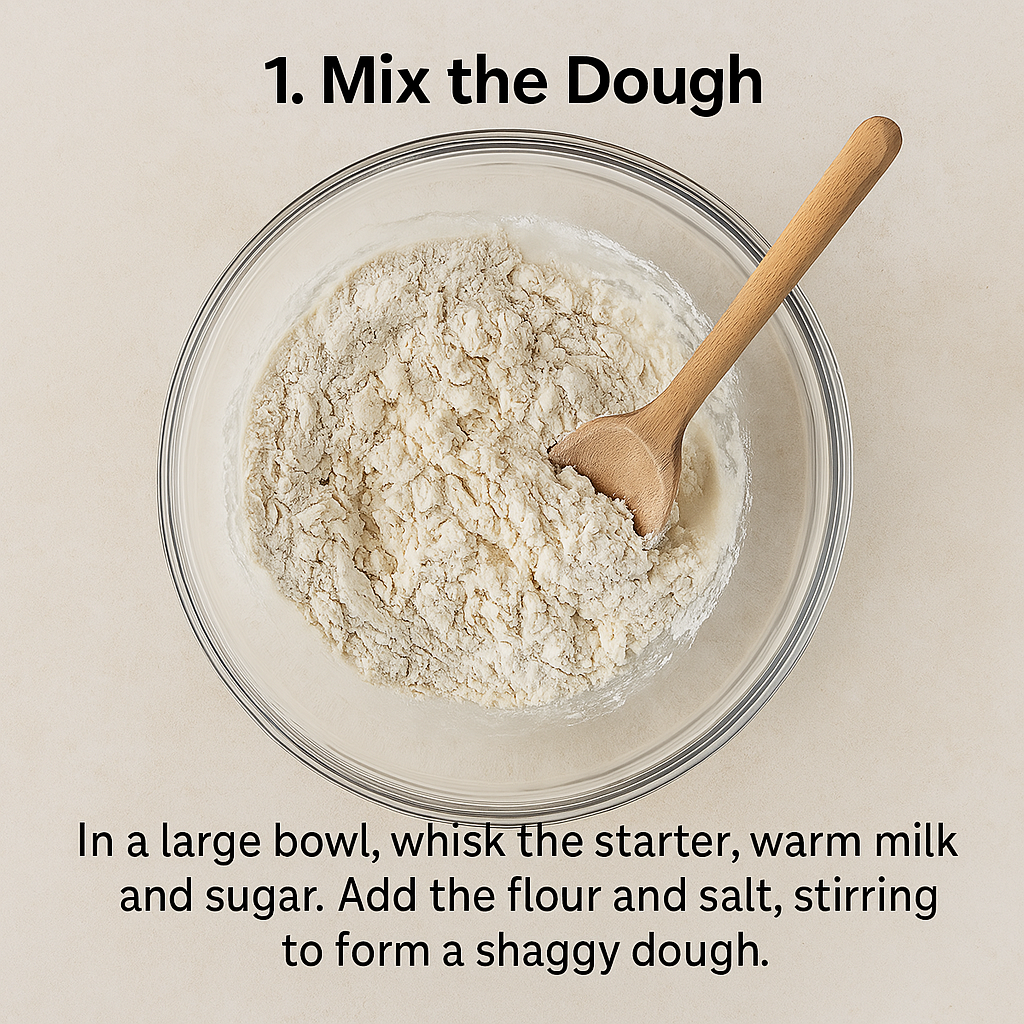
1. Mix the Dough
In a big bowl, whisk starter, warm milk, and sugar. Add flour and salt. Stir until you get a shaggy dough.
🛋 Cover and let it rest 30 minutes.
After resting, do 2–3 sets of gentle stretch-and-folds over the next hour to build structure. Cover and ferment at room temp for 4–6 hours until puffy, or stick it in the fridge overnight.
2. Grate the Butter
While your dough is chilling or resting:
- Freeze your butter until solid (at least 1 hour).
- Grate it using a box grater or food processor.
- Toss the butter shreds in a little flour to keep them from clumping. Store them in the fridge until ready to use.
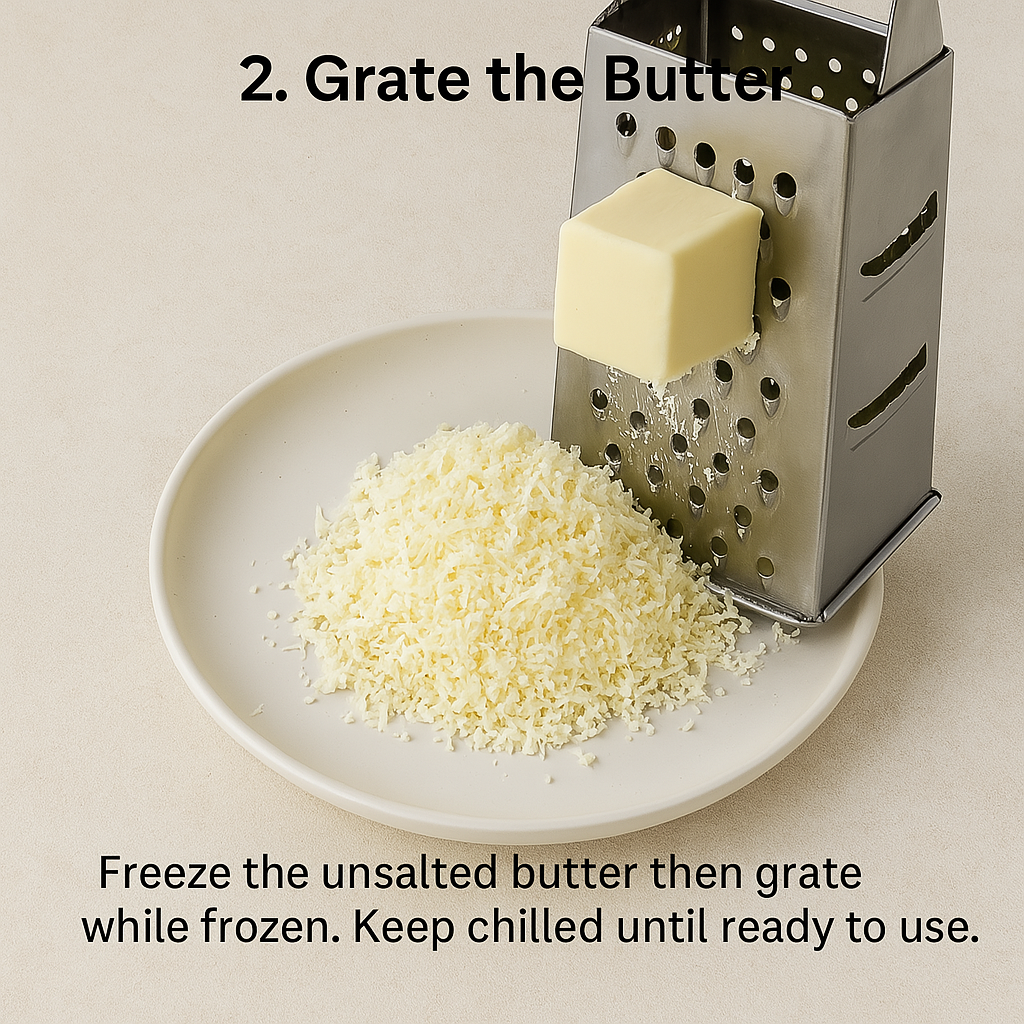
🧊 Cold butter is key — keep it chilled until layering.
3. Laminate the Lazy Way
Dust your counter lightly with flour. Roll dough into a rectangle (about 9” x 14”).
- Sprinkle half the grated butter over the bottom ⅔ of the dough.
- Pat gently to flatten.
- Fold the top third over the middle, then the bottom third up over that (like folding a letter).
- Chill 20–30 minutes in the fridge.
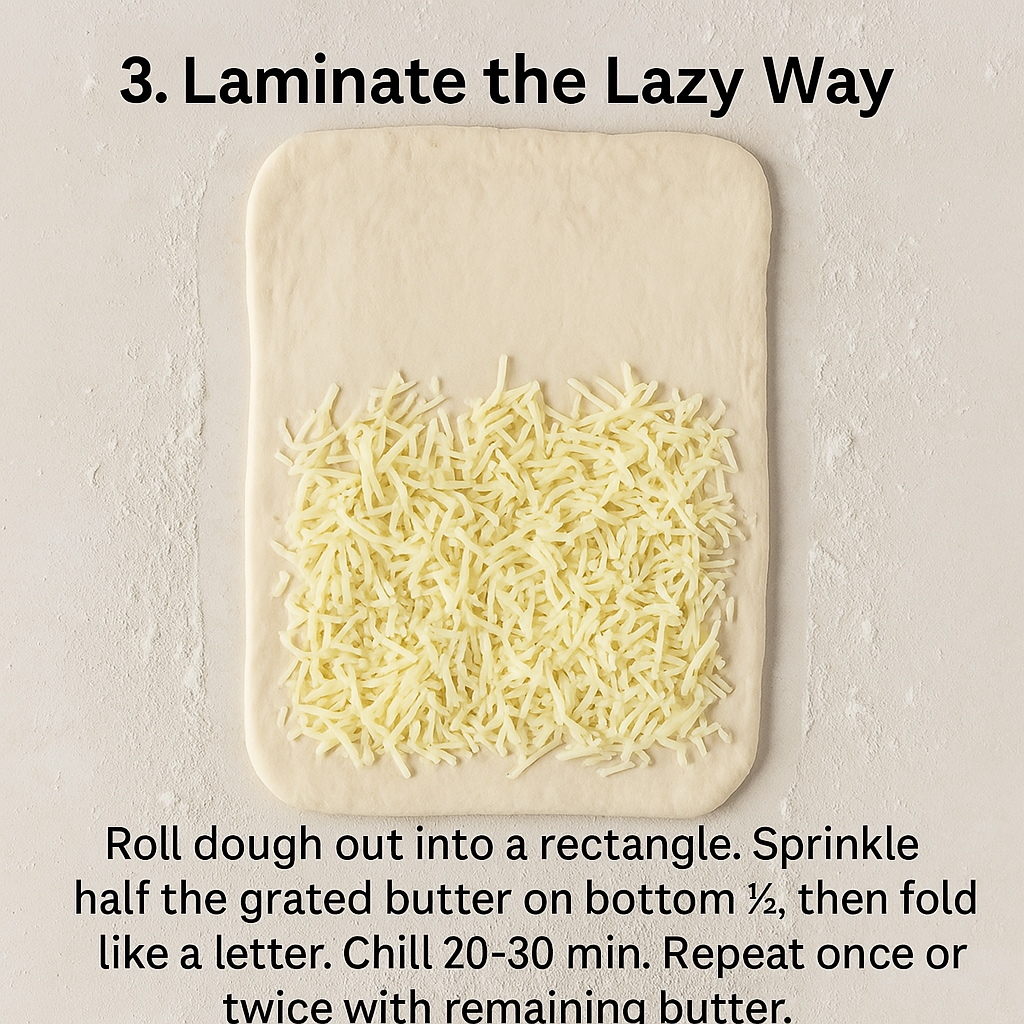
🌀 Repeat this whole process once or twice more with the remaining butter.
Do 2–3 total folds for good layering. Chill between folds so the butter stays firm and flaky.
4. Shape the Loaf
Roll dough into a 9” x 12” rectangle again. Roll it up tightly like a cinnamon roll and place seam-side down in a parchment-lined or greased loaf pan.
Optional: Brush with egg wash or melted butter for extra shine.
5. Final Proof
Cover loosely and let it rise 4–6 hours at room temp or overnight in the fridge. It should be noticeably poofier and have a slight jiggle when you nudge it.
6. Bake It!
Preheat oven to 400°F (200°C). Bake for 35–40 minutes until golden brown on top and cooked through. Tent with foil halfway if the top is browning too fast.
Let cool completely before slicing for clean, defined layers.
🔄 Tips, Hacks & Subs
- 🧈 Grated frozen butter = no stress lamination
- ❄️ Cold dough and cold butter = flaky success
- 💡 Add sweet or savory fillings between layers (cinnamon sugar, shredded cheese, herbs)
- 👩🌾 Got garden herbs? Mix chopped rosemary or thyme into the butter before grating for flavor flair
🧊 Storage Tips
| How to Store | How Long |
|---|---|
| Room temp (wrapped) | 2–3 days |
| Fridge (airtight) | Up to 5 days |
| Freeze (sliced, wrapped) | 1 month |
To reheat: Toast slices lightly or warm in the oven at 300°F for 8–10 minutes.
🍽 Lazy Homestead Serving Ideas
- Toasted with honey butter 🍯
- French toast that tastes like a croissant 🥚
- Croissant grilled cheese (trust me) 🧀
- Turkey sandwich upgrade 🦃


Hi, I’m getting ready to make this bread. It looks incredible. What technique did you use to give the top that design? Thanks!
this looks amazing. any chance you ca do a video with step by step? i am a visual learner and do not want to mess this up!
Do you score the croissant loaf? Before baking?
Thanks carol.
Hi Carol, yes, you score it deeply to make sure air escapes.
Do yo roll it ot to 9/14 when you are repeating the folds with butter?
The finished bread looks like it has been sliced before baking . But that information is listed. Please reply.
Thanks
Hi Pam, you score it deeply before baking for the air to escape.
Do you score the top before baking?
Hello,
I made 2 loaves today. The first loaf was made with semi active sourdough and the dough was very tough to stretch even after extra time resting. So I made another one with active sourdough but that one is tight and hard to stretch also. Not as bad as the first loaf though. Is that normal for this recipe?